Hello Guys, are you excited to know how you can register Google Map Business Location in just 5 minutes or less? After going through and worked with many of clients today I am going to showcase you the procedure “How to Register a Google Business Location” and “Google Business Map Location 2018” with getting verified instantly.
Little Bit About Me: Myself Prashant Singhal a fun-loving guy who would like to explore the things as for user interest as food, travel and hidden places. As a professional, I am in Digital Marketing and especially dealing with Social Media Marketing with Increasing of customer engagement and interest. So, if you have something you would like to share with people to explore it and Want to increase your brand engagement then ask me for any help. Recently I have written an article about ” Get Your Profile’s Secret Circle – Tips to make it Success Circle “.
How The Google Map Business Location will help Your Business:
By having your business on Google Map will increase your footfall traffic and business query across your business network area. It will allow your business to have more customer experiences and increase sales as well. By doing regular activities and promotions of your offer, you will have a definite easy to find the approach to customers. I believe, if you will do and follow the techniques I have shared below – Will increase your sales.
Let’s start with the basics of how to set up the google map business location registration for your business.
First, you need to login to your Gmail account, if you don’t have Gmail account then register it and then login to it.
Step – 1 Login into Gmail Account
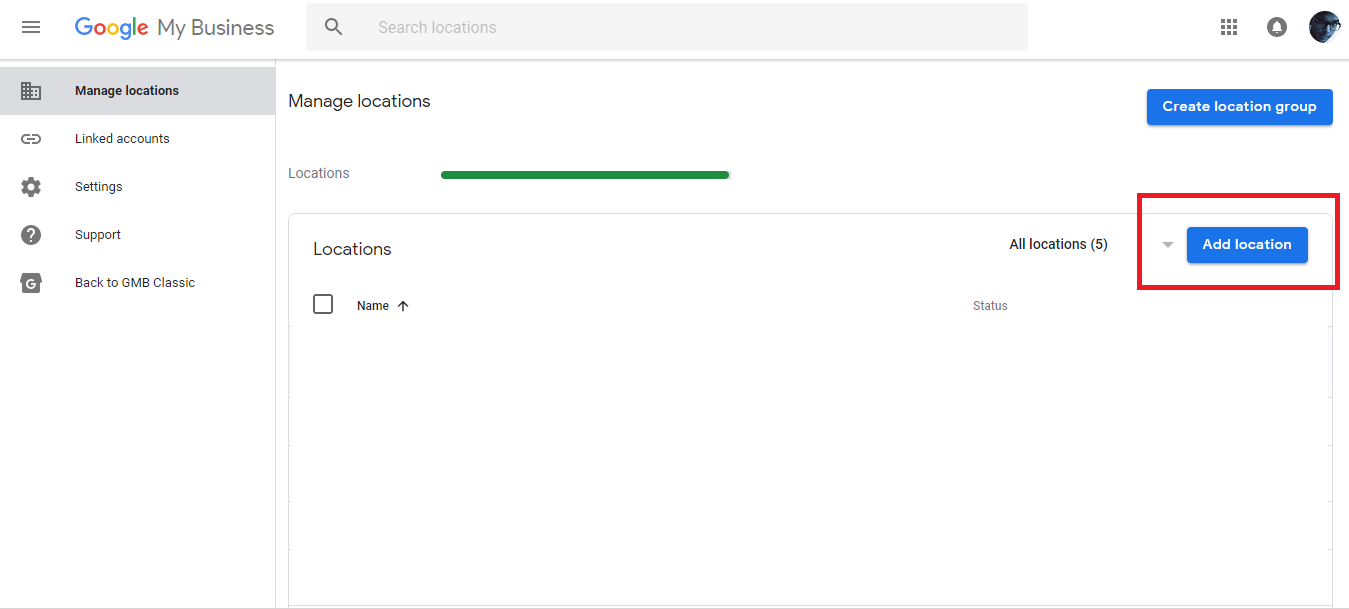
After Login to your Gmail Account – Open a New Tab and Go to URL https://business.google.com There you will see an option “Add Location” on the right side of the screen.
Step – 2 Setup Your Business Name
After Clicking it Add Location, A Next Screen Will come and will ask for your business name. Kindly Enter your business name in that space for your business name.

Step-3 Where are you located?
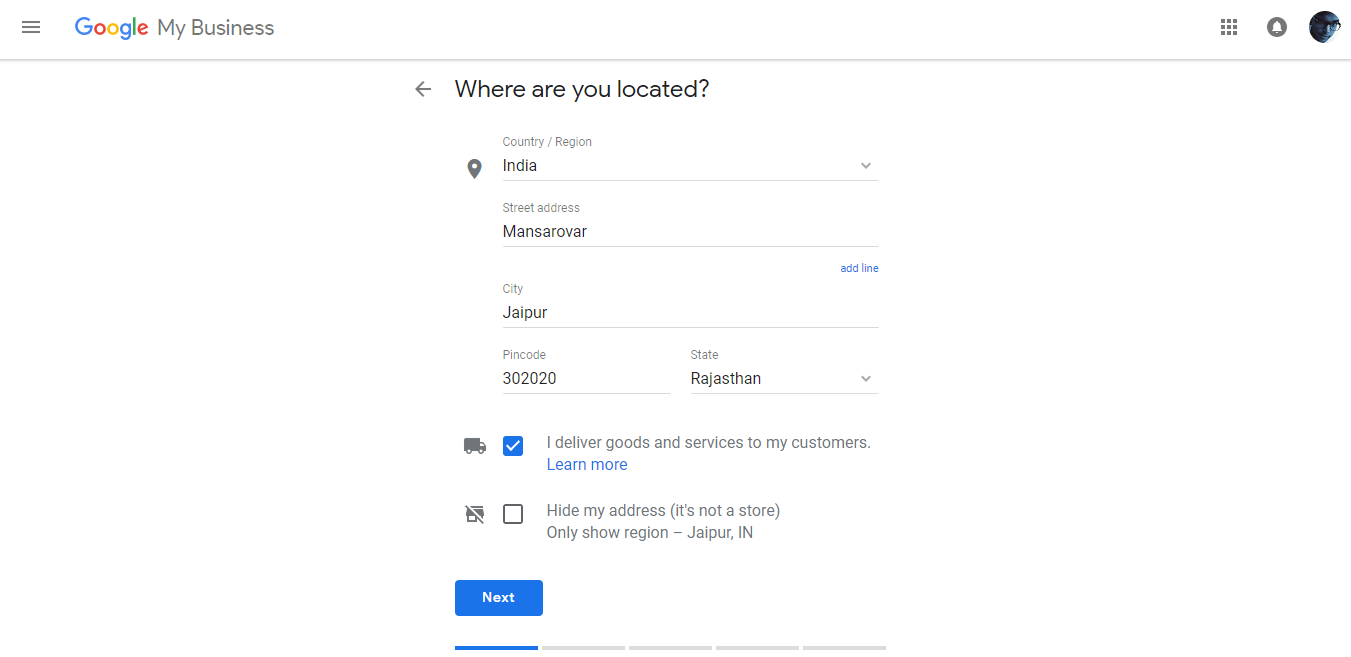
Now add your location where are you located – Add Country, State, City, Pin code and Street Address. Then you see there’s two type of store identification.
One is for the businesses who are having a store and deliver goods and services to customers.
Another one is for the businesses who are not having any store and don’t want to share their address.
Step – 4 Cross Check/Create Your Business
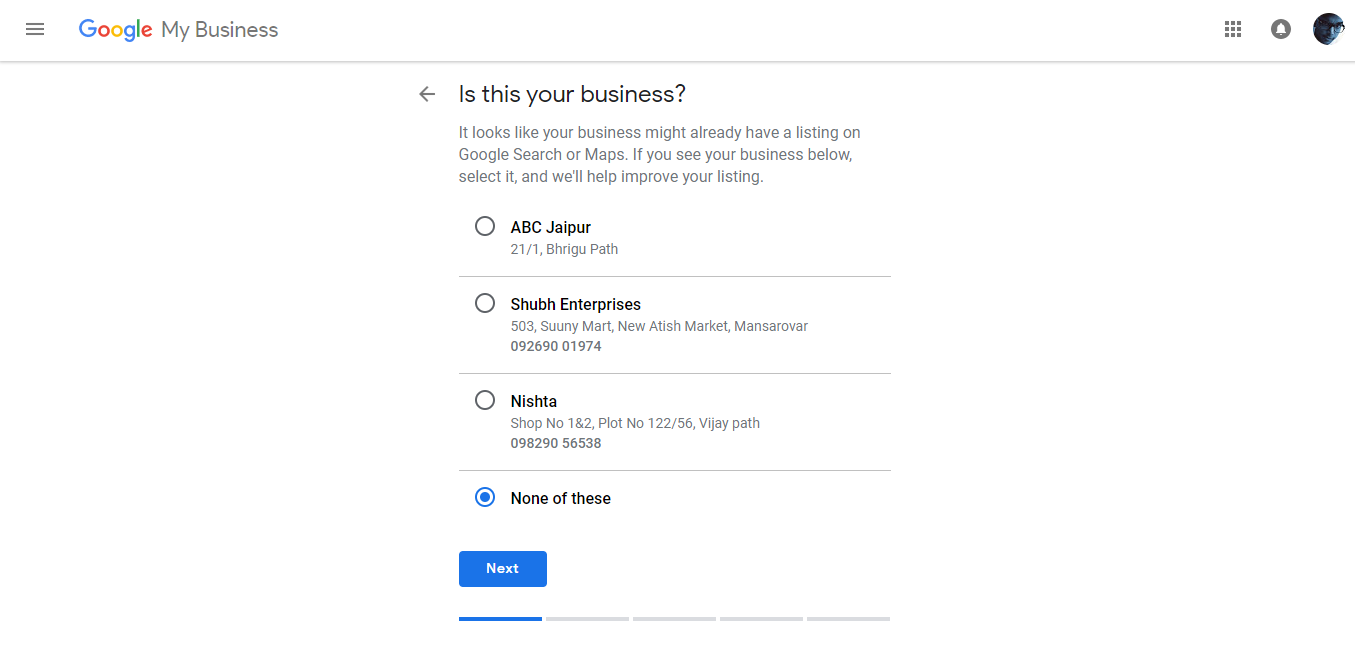
This page is for the cross-check your business name with others, if there is something similar to your business then you can select the earlier listing and claim for the same.
If Nothing matches your business, then just select “None of These”.
Step – 5 Map Your Location
In this step of Google Business Map Location, you need to clarify where are you exactly located. Mark on the map and move forward.

Step – 6 Select the Delivery Area
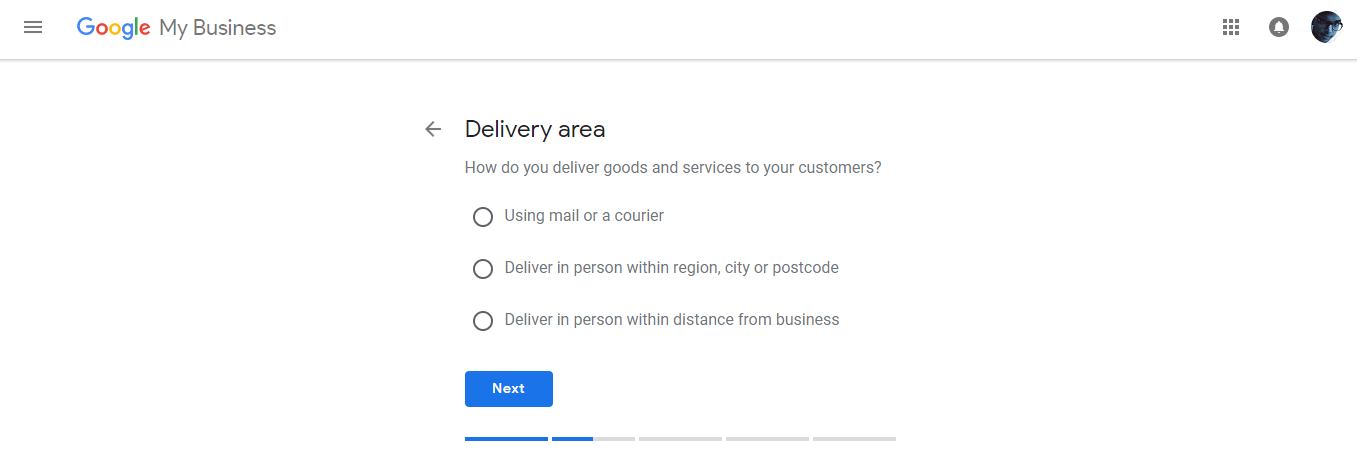
Here just select the delivery area or network of your business. There you provide services and goods to your customer.
3 options to select any one according to your business.
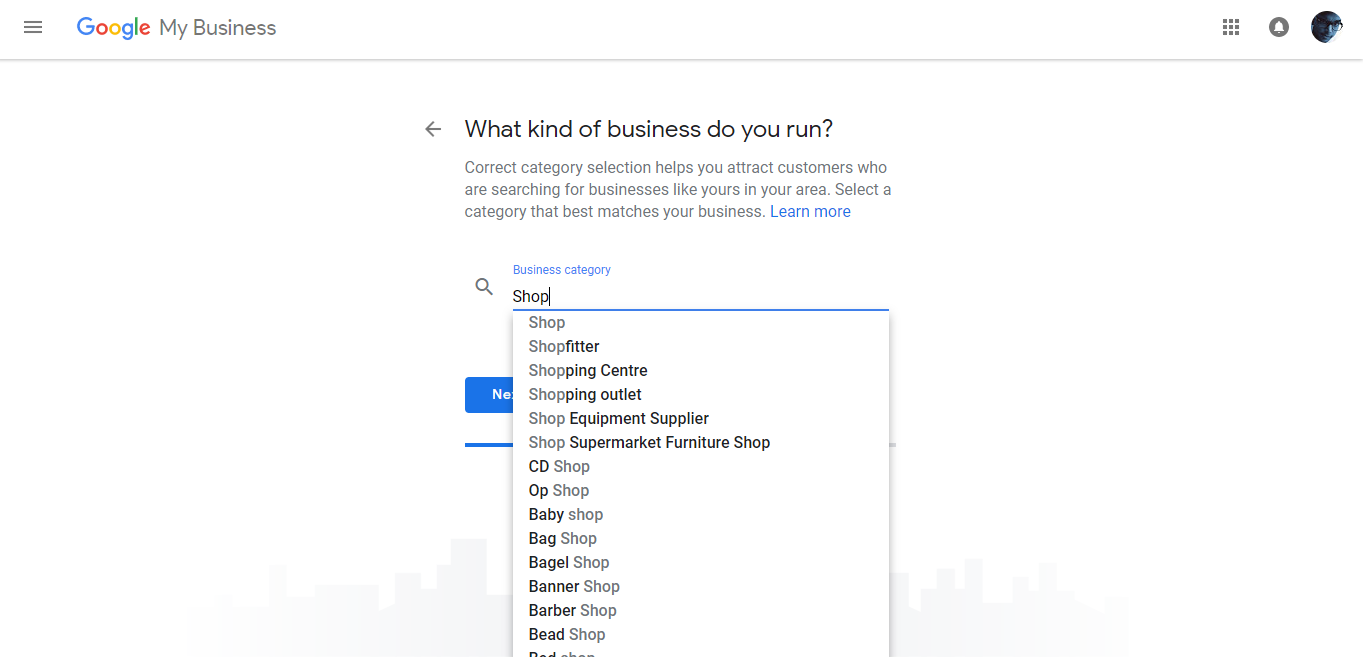
Step – 7 Select Business Category
You must select your business category right because it will allow your business to come in results according to user search and category matched. So first note down the categories on paper and then find out the best one that describes your business focused matched. Right after trying to enter it in the search bar and find out the best suggestion – Enter the all possible categories and find out the best one that suits your business, Select that one.
Step – 8 Enter Your Google Map Business Number and Website
Now You need to enter your business contact number and website address. There’s an option of the website also, if you don’t have a website then you need to select that option to create a google website (To Know “How to Create a Google Business Website” – Will share the Article Soon)
Google Add Business Location Contact Number and Website
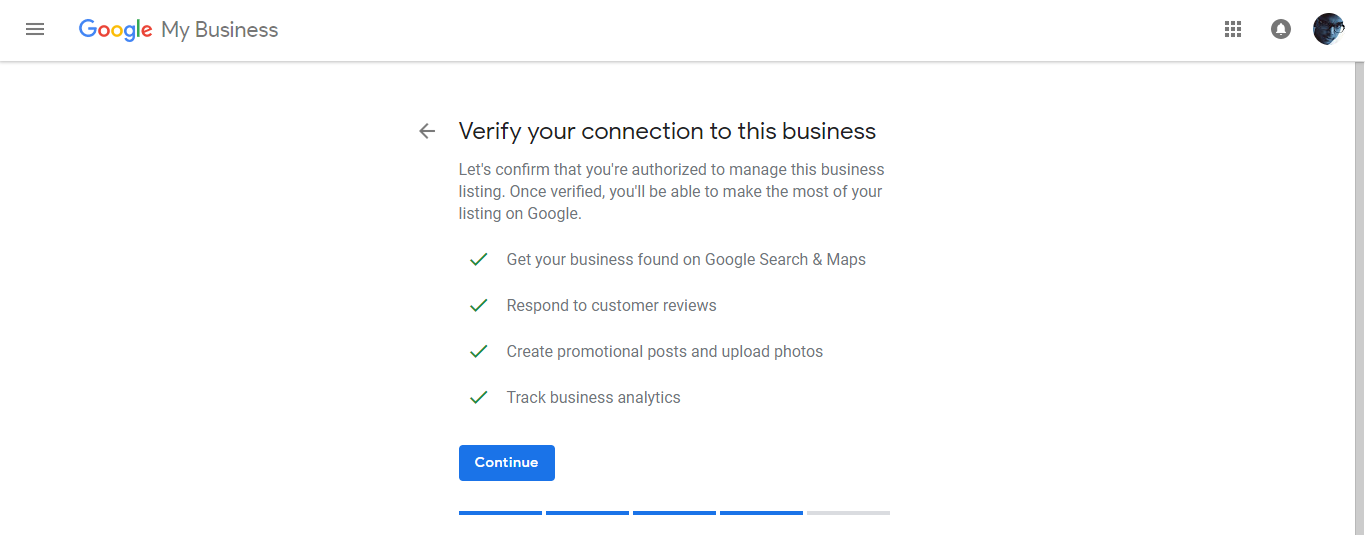
Step – 9 Verifying Your Google Map Business Connection
At this step you need to verify your business location by Text Message, Call, Mail/Courier or Select Later.
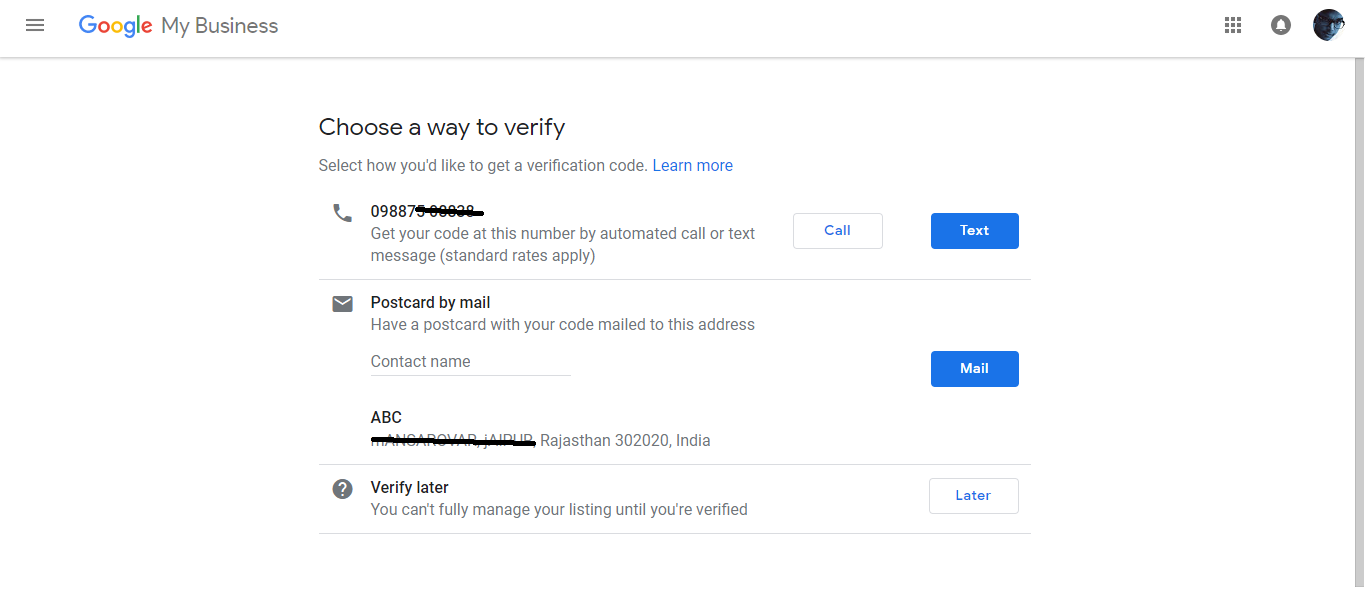
Select Any from 3 Of Them:
-
By text message
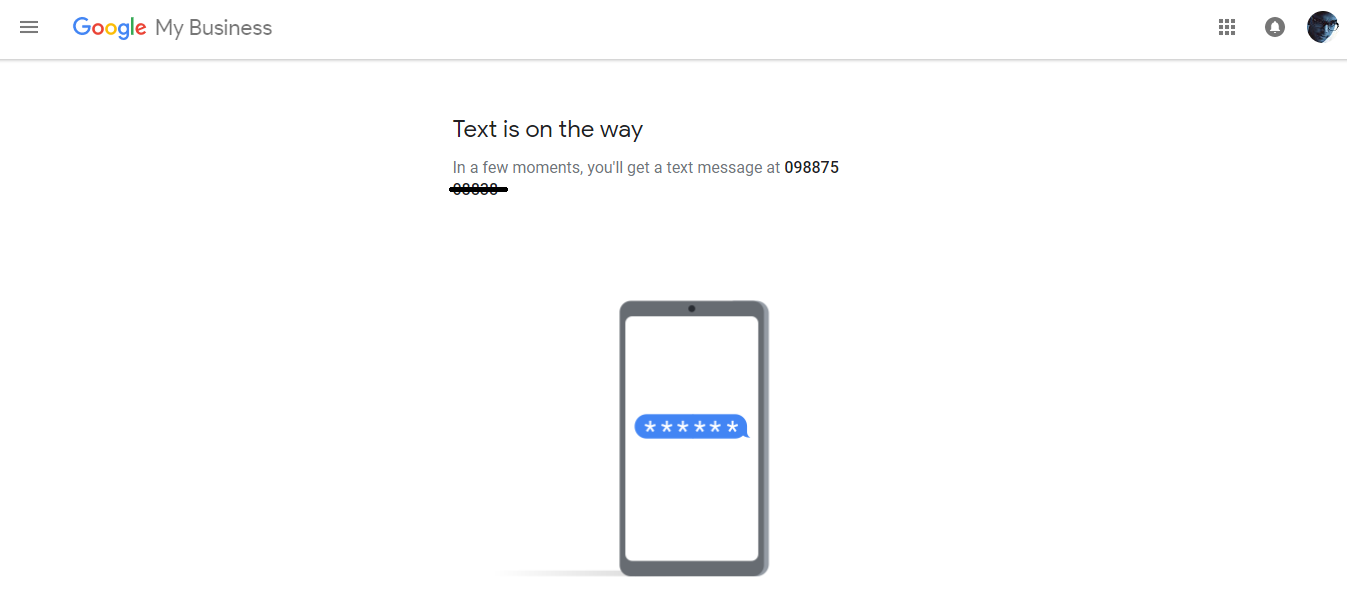
-
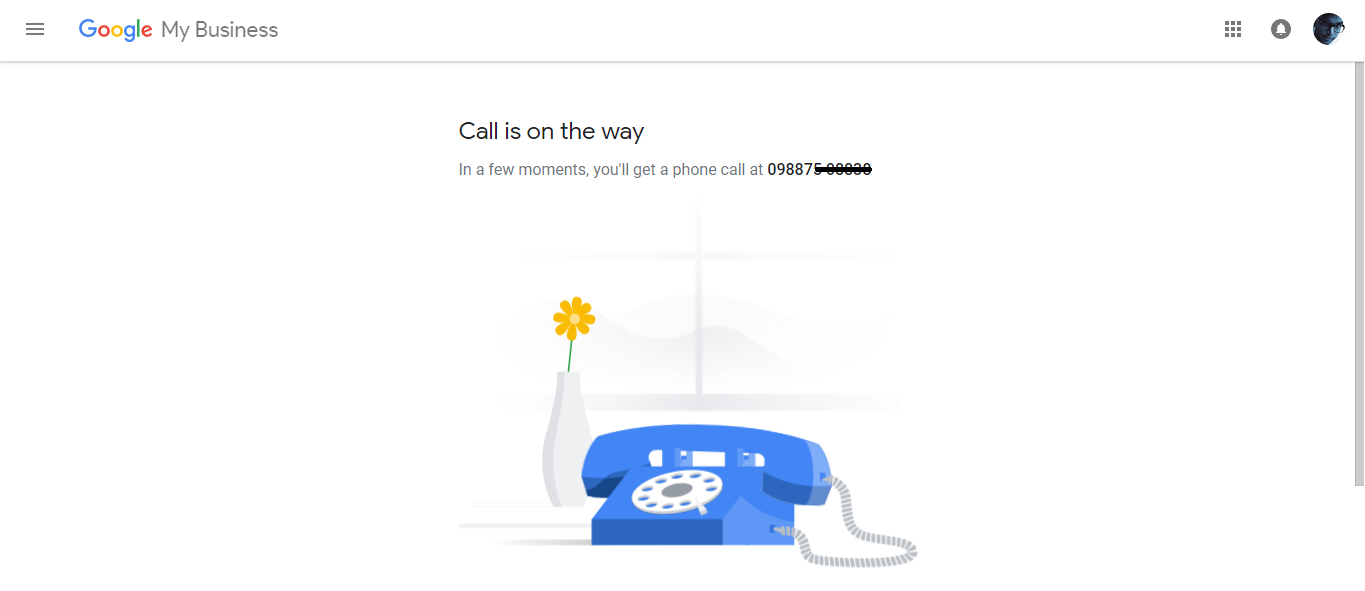
By on Call
-
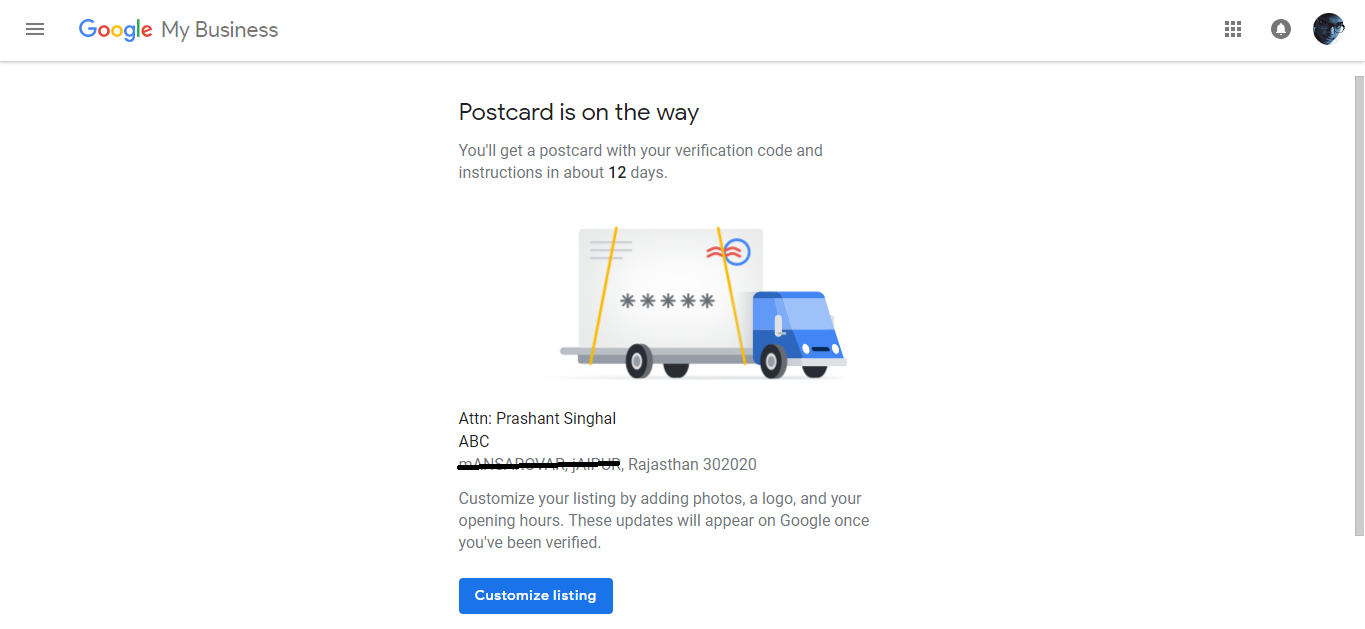
By Mail/Postcard
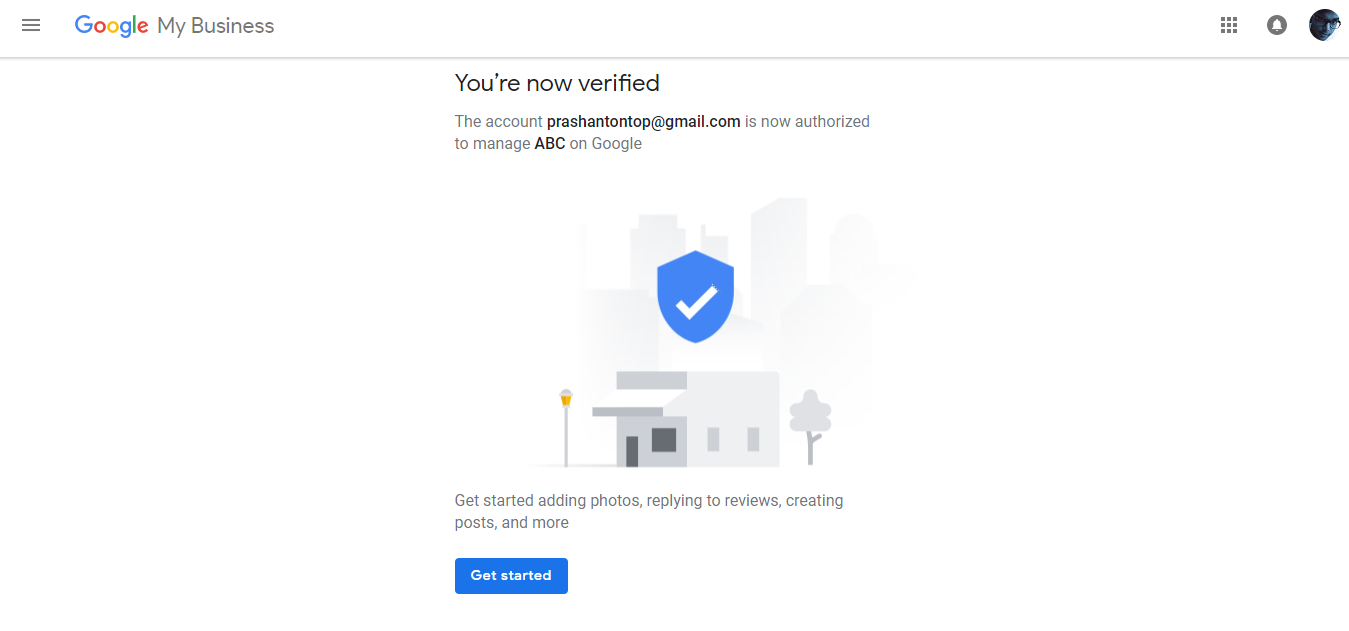
After Verification of Google Map Business Location, you will see a Congratulations Screen to Proceed Further.
So, Guys – I believe by above details you can easily register your Google Map Business Location with Verification as well. Soon We will discuss and share the techniques about increase the footfall and sales by Using Google Business Map Location. I Will share my new article about “6 Techniques to Increase Footfall and Sales at Your Store OR Business Shop”.
Comment your views, feedback or any Questions in comments! Share with your friends & Colleagues who are in need of the same.


